LoRa Gateway
In this example we will construct a LoRa gateway using a Raspberry Pi and a LoRa HAT, following these steps.
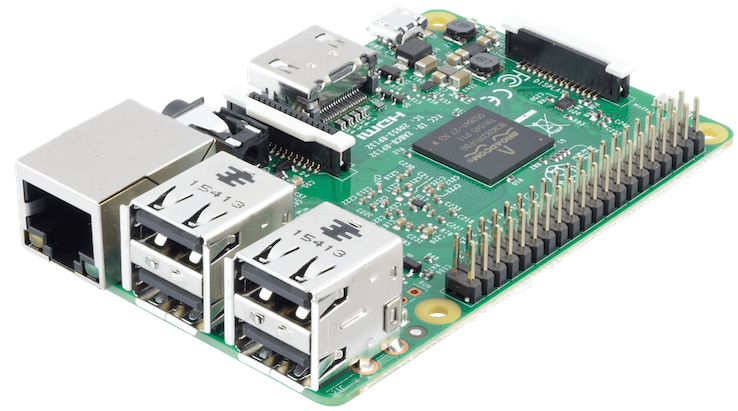
- Set up the Raspberry Pi
- Attach the LoRa HAT
- Download the code for the gateway
- Set the code to run as a service
Once the gateway is up and running we can deploy it on The Things Network.
Setting up the Raspberry Pi
Before proceeding the first thing we need to do is ensure the Raspberry Pi OS is up to date. This article tells you how and why you should update your OS.
Next, the code we will use for our gateway is held on GitHub. If 'git' is not already installed on your Pi type the following command in a terminal window to install it.
sudo apt-get install git
For the code to work we need the Pi to communicate with the LoRa HAT, for this we need to enable the SPI buses. There are two ways to do this.
-
Enter the following command in a terminal window.
sudo raspi-conig
This will open the raspi-config utility, select 'Interfacing Options' then select 'SPI'. Now you will be asked if you would like the SPI interface enabled. Select ''. -
The second method is to enable SPI through the GUI "Raspberry Pi Configuration".
Menu > Preferences > Raspberry Pi Configuration
Under 'Interfaces' you can select the 'Enabled' radio button for SPI.
Lastly we need to install 'wiringpi'. Type the following command in a terminal window to install it.
sudo apt-get install wiring pi
Attach the LoRa HAT
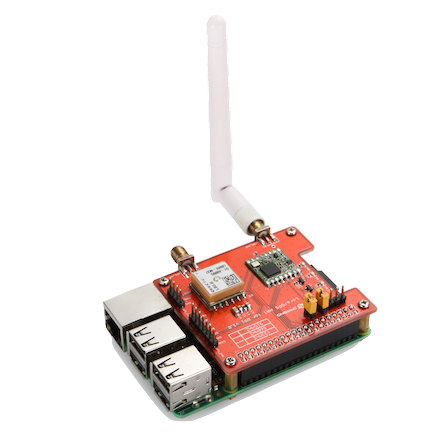
Assuming your Raspberry Pi is plugged in to a monitor or mains power, the best thing to do would be to screw the antenna onto the HAT now, before attaching the HAT to the Pi.
Note. It is important that the antenna is attached when using the HAT. Failing to do so risks burning out the radio unit.
With the antenna attached, orientate the HAT as in the image below so that the pins are flush with one another, and gently press the two together.
Get the code
The code we will be using is provided by Dragino, the manufacturer of the HAT. There are other variations of this program in various states of repair around GitHub but this seems to be the most stable version.
-
Open a new terminal window, navigate to the folder where you want to download the repository.
-
Run the following command to clone the repository.
git clone https://github.com/dragino/dual_chan_pkt_fwd -
After the download has finished navigate to the new directory
cd dual_chan_pkt_fwdand run the following command to build the program.make -
Once the build is complete enter the following
sudo ./dual_chan_pkt_fwdto run the program and check the gateway ID. Make a copy of the gateway ID somewhere, we will need to know it later.
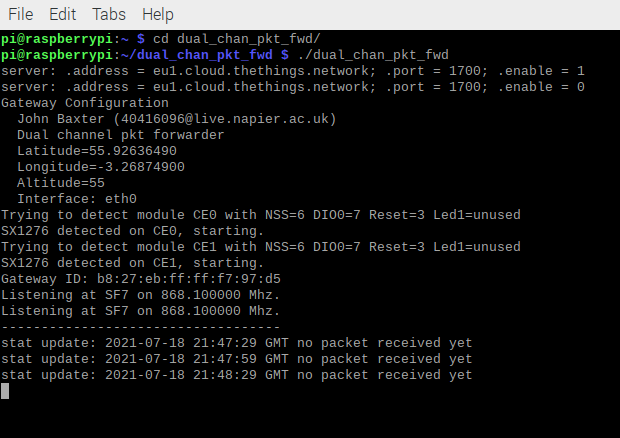
- Type Ctrl-c to stop the program.
Always on
The next step is to install the program on the pi as a service which will run at start up.
While still in the directory 'dual_chan_pkt_fwd' run the command sudo make install
Now the program is installed as a service on the pi and will run at start up. The following commands are available to interact with the program.
- To check the status of the service
systemctl status dual_chan_pkt_fwd - To see real time gateway log
journalctl -f -u dual_chan_pkt_fwd - To stop the service
systemctl stop dual_chan_pkt_fwd - To start the service
systemctl start dual_chan_pkt_fwd
Should you decide you want to uninstall this service, enter the command sudo make uninstall
Global config
Lastly, we need to configure the channel frequency and server address. We can modify these and other details in global_conf.json. The frequency should be set to 868100000 for EU868 region, the server name is dependant on the server you choose, in this example we use the TTN server address.
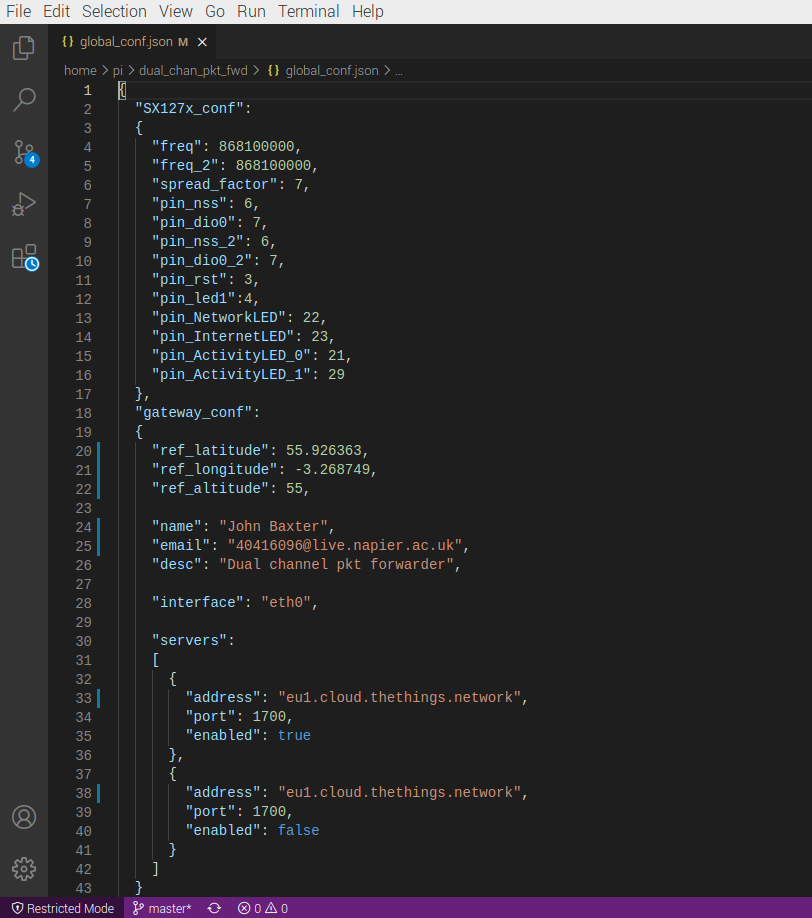
- Open global_conf.json in your preferred editor
- Set both frequencies to 868100000
1 2 | |
- Ensure the pins are numbered
1 2 3 4 | |
- Optionally input lattitude, longitude and altitude.
1 2 3 | |
- Ensure both server addresses are updated to your preferred server.
1 | |
- Save the file
- Stop and start the service for the change to take effect.
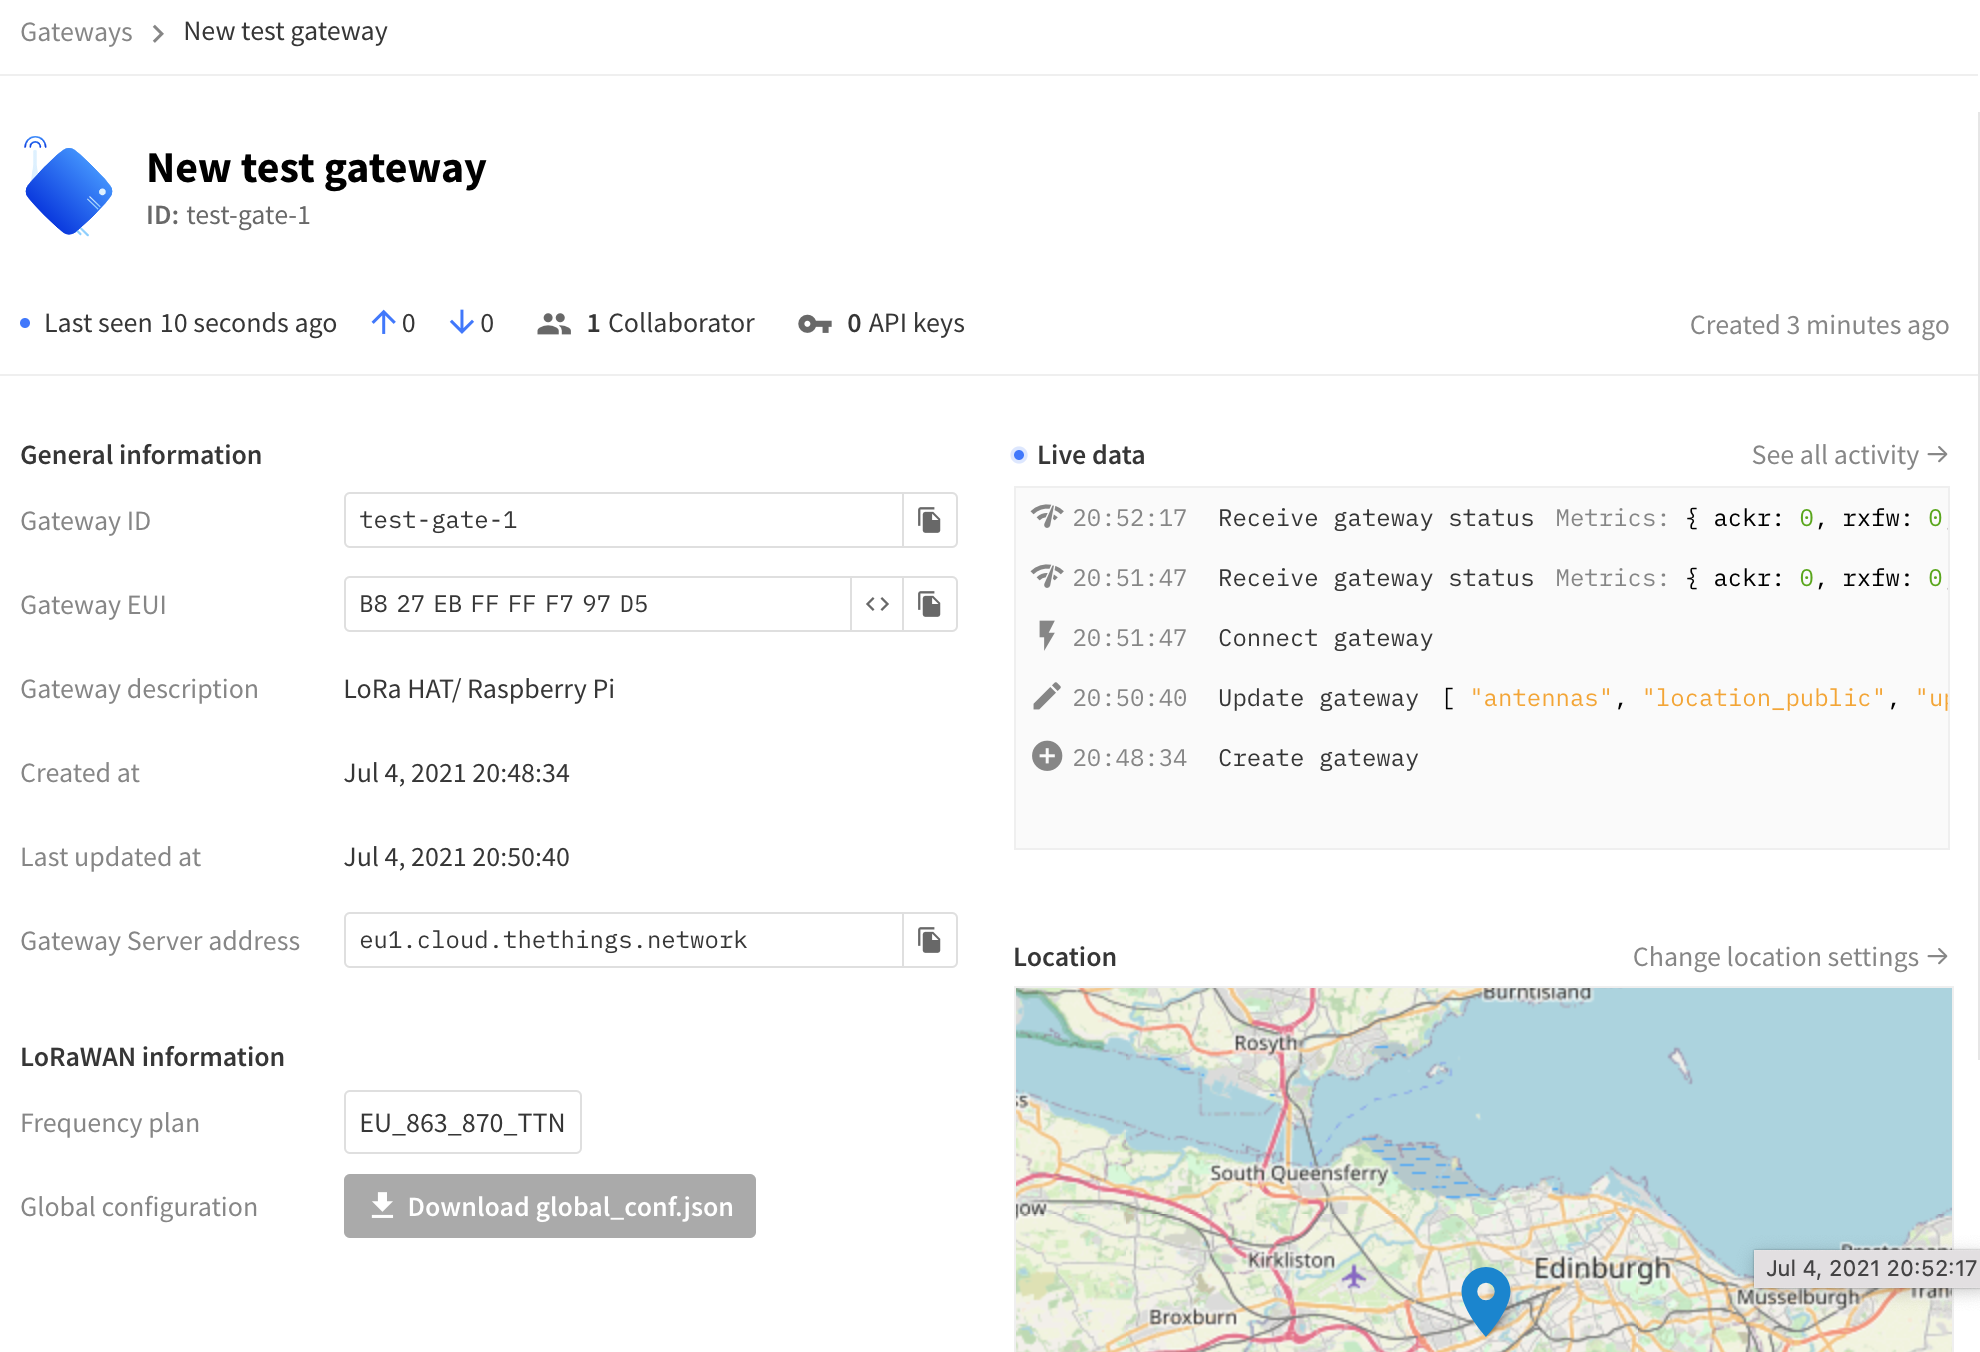
Deploying a gateway on TTN
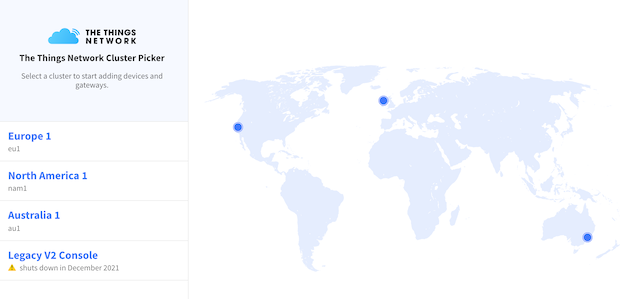
In order to deploy a gateway on the things network you will need to have a user account. If you do not already have an account signing up is quick and simple thethingsnetwork.org. Once you have registered and logged in, select 'Console' from the menu and select 'Europe 1' from the cluster picker.
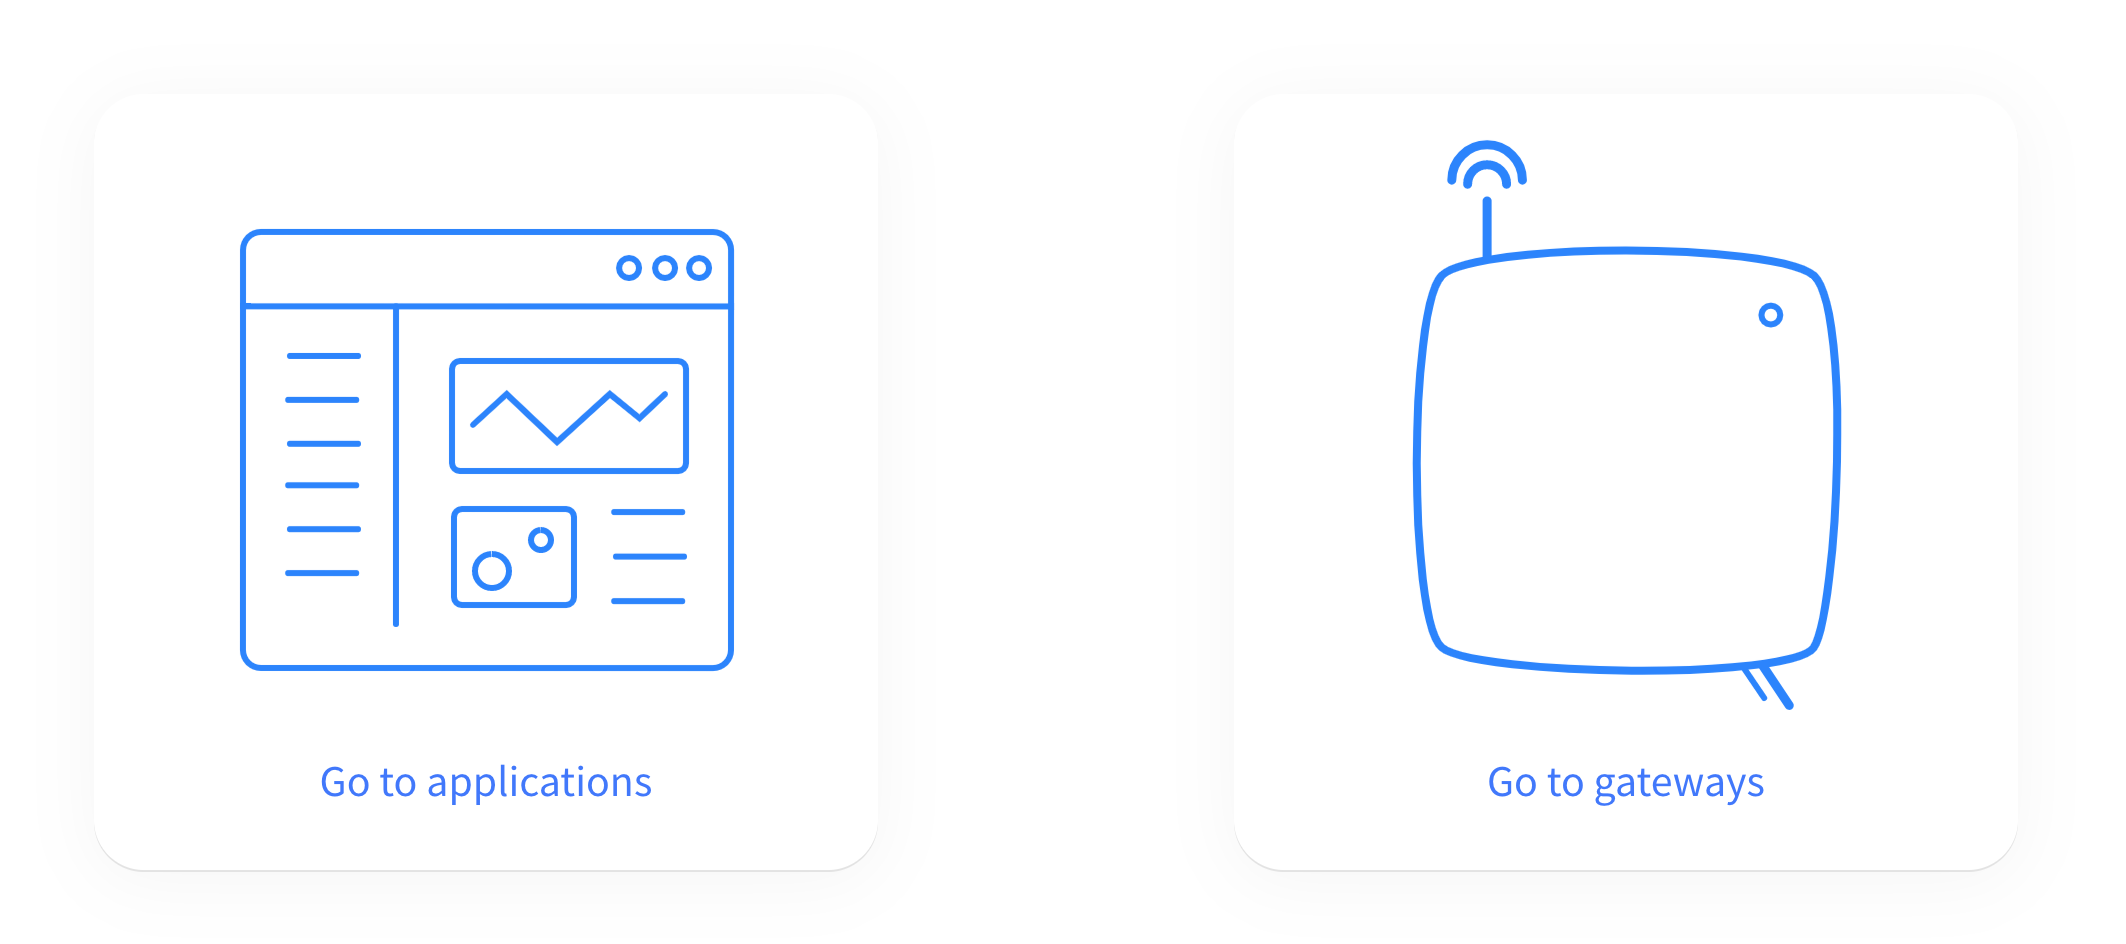
On the console screen you will have the option to select 'GO to applications' or 'Go to gateways', these options are also available in the menu bar at the top of the page.
For now select Go to gateways
And on the following page select Add gateway

On the 'Add gateway' page we can configure General settings and LoRaWAN options.
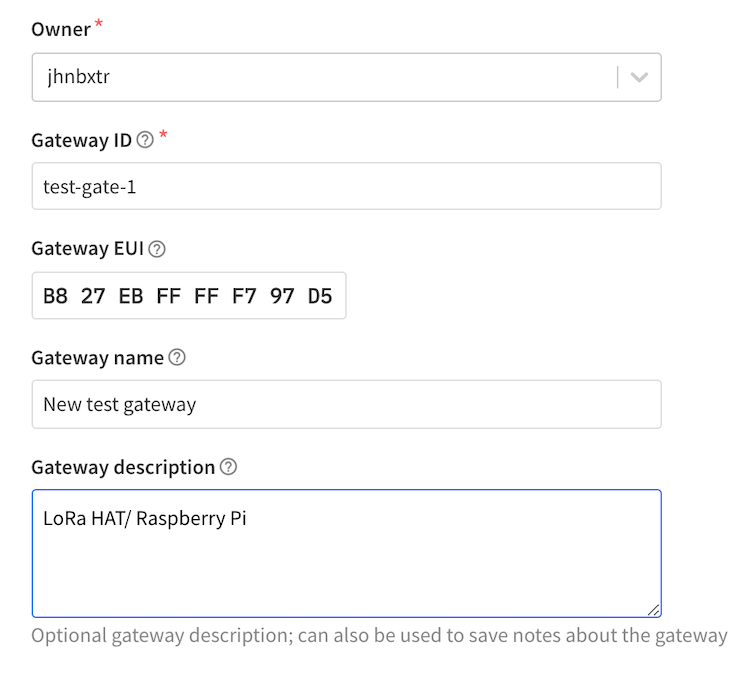
- Owner - Username by default
- Gateway-ID - User choice
- Gateway EUI - This is the gateway ID we copied down earlier
- Gateway Name - User choice
- Gateway Description - User choice
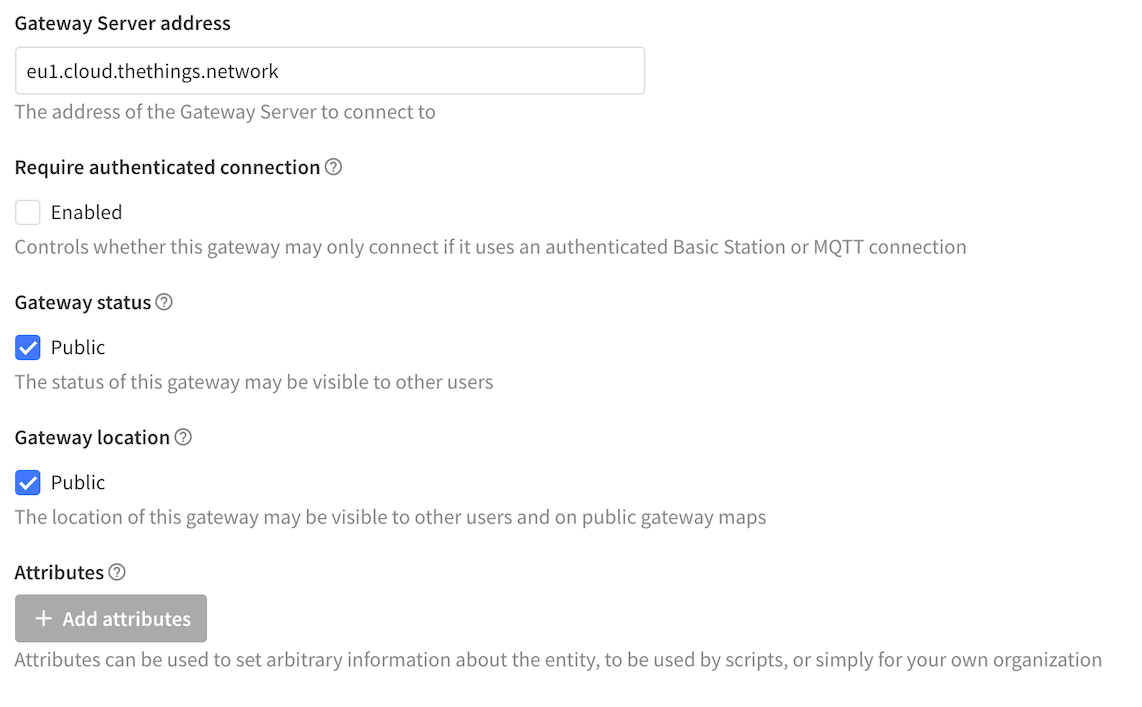
- Gateway Server address - Auto populated
- Require authenticated connection - Enabling this restricts the gateway to an authenticated Basic Station or MQTT connection only.
- Gateway status - Public on/off. Set to on by default.
- Gateway location - Public on/off. Set to on by default.
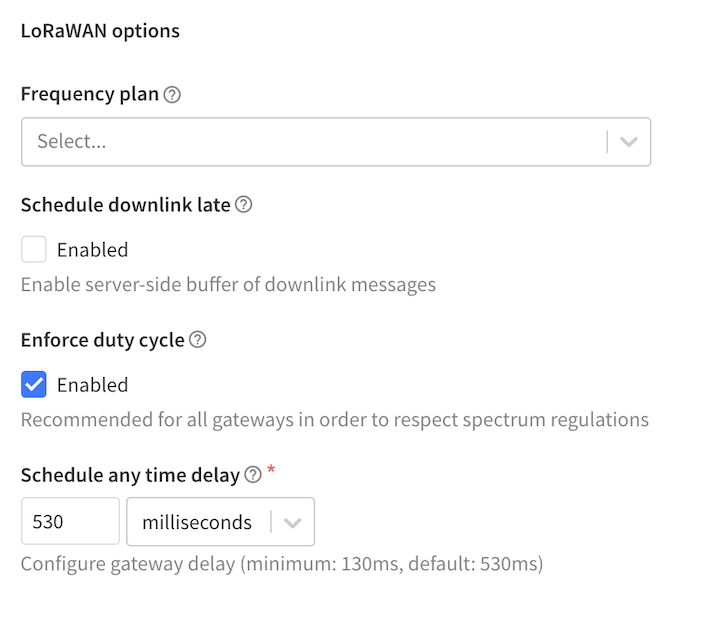
- Frequency plan - Europe 863 - 870 Mhz (SF9 for RX2 - recommended)
- Schedule downlink late - Enabled on/off. Off by default.
- Enforce duty cycle - Enabled on/ off. On by default.
- Schedule any time delay - Default 530 milliseconds
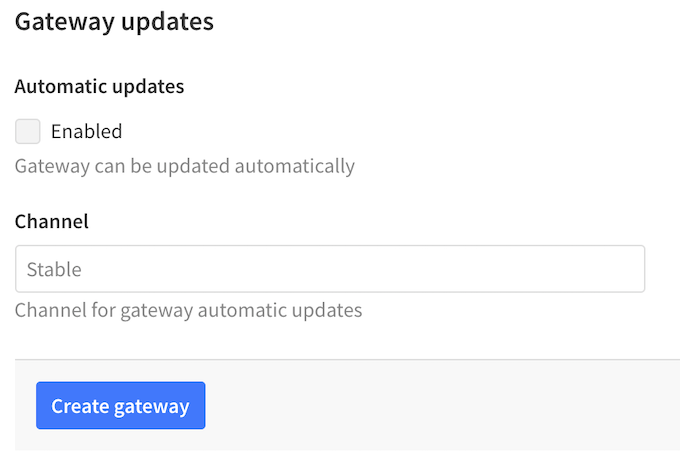
- Automatic updates - Enabled on/off. Off by default.
- Channel - empty
- Create gateway!