Creating UI elements with XML
The code on the previous page creates the layout shown in Figure 9. As you can see, the results are not particularly exciting for all the effort that was required.
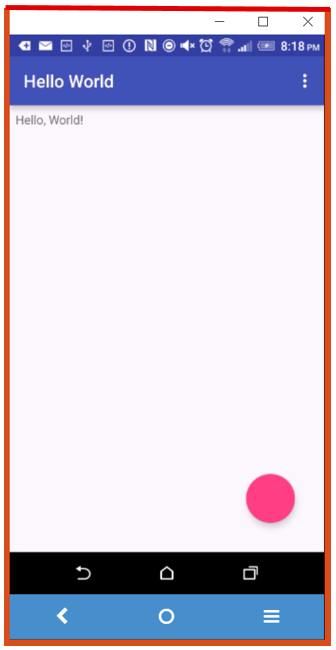 Figure 9: A simple relative layout
The same result can be created by describing the hierarchy of views and widgets using the XML code in Figure 10. Although the format may seem unfamiliar at first, the XML approach has several major advantages. First, the hierarchy of views is clear from the structure of the code - you can clearly see which element is the parent and which are the children. Second, there are several repeating patterns in the code and once you are familiar with the conventions, this makes writing new layouts quite easy. For example, all of the items that start with @ refer to resources in the res branch of the project hierarchy as shown in Figure 11.
1 2 3 4 5 6 7 8 9 10 11 12 13 14 15 16 17 18 19 20 21 22 23 24 25 26 27 28 29 | |
Figure 10: Creating UI elements programmatically
Another reason for using the XML layout approach is that Android Studio provides a drag-and-drop design interface as shown in Figure 11 which makes building your layouts relatively intuitive. Unfortunately the design view is not sufficient to specify absolutely all of the characteristics of your interface elements. You will still need to adjust the XML manually. However, you should quickly become familiar with the process of jumping backwards and forwards between the design and code views.
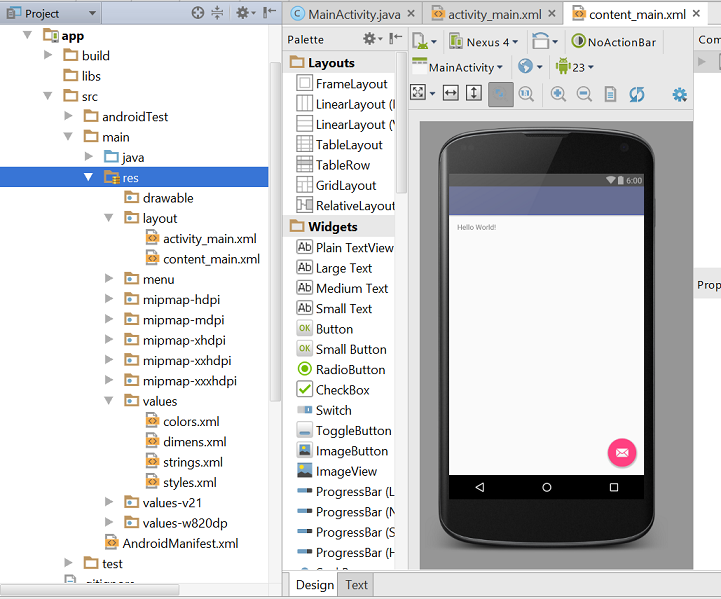 Figure 11: Android Studio design view