LCD display
There are many types of display that can be used with an Arduino, but one of the most common is the 1602A 16 x 2 LCD screen.
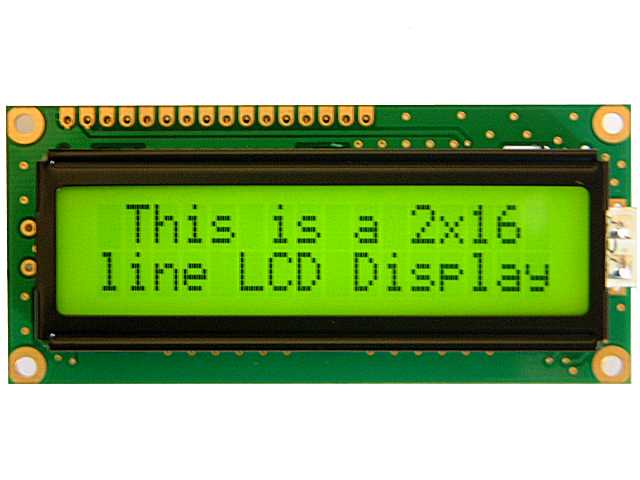
There are several variations of the LCD display, and these notes refer to the type with 16 pins one the top edge as shown in the image above. Numbered 1 - 16 from left to right, the pin assignments are:
| Pin | Abbreviation | Function |
|---|---|---|
| 1 | VSS | Ground connection |
| 2 | VDD | Power (+5V) |
| 3 | V0 | Contrast |
| 4 | RS | Register select |
| 5 | RW | Read/write |
| 6 | E | Enable |
| 7 | D0 | Data pin 0 |
| 8 | D1 | Data pin 1 |
| 9 | D2 | Data pin 2 |
| 10 | D3 | Data pin 3 |
| 11 | D4 | Data pin 4 |
| 12 | D5 | Data pin 5 |
| 13 | D6 | Data pin 6 |
| 14 | D7 | Data pin 7 |
| 15 | A | Backlight power (+5V) |
| 16 | K | Backlight ground |
The layout below shows how to drive the LCD display directly from an Arduino Uno. Instructions can also be found on the Arduino web site
Connecting an LCD display using a shift register
Direct connection takes up a large number of digital pins. One method for reducing the footprint is to use a serial-to-parallel shift register. Writing the code to do this from scratch is quite difficult, and there are many libraries available on the Internet which have been implemented in slightly different ways. The instructions below take you through a relatively reliable method.
The first issue is that you need to update the built-in LiquidCrystal library:
- Find the location of the Arduino libraries on your computer. This will be different depending on your operating system.
- Rename the existing LiquidCrystal library folder (for example, to LiquidCrystal_old), and create a new empty folder.
- Download a zip file of the updated library from the Arduino web site The version of your IDE is probably greater than 1, so you should download the one called LiquidCrystal_1.zip
- Unzip the file and copy the contents into your new library folder
The new library should now be picked up automatically by the IDE when you
include the line #include <LiquidCrystal.h>
The second challenge is getting the hardware connections right:
The final piece of the puzzle is the Arduino code. Again, the example on the Arduino web site is almost correct, but the version shown below should work with the display model and connections shown here.
1 2 3 4 5 6 7 8 9 10 11 12 13 14 15 16 17 18 19 | |