PyCom sensor node
In this example we will be using a PySense expansion board with a FiPy to measure temperature and send that data to TTN via a LoRa gateway.
PySense
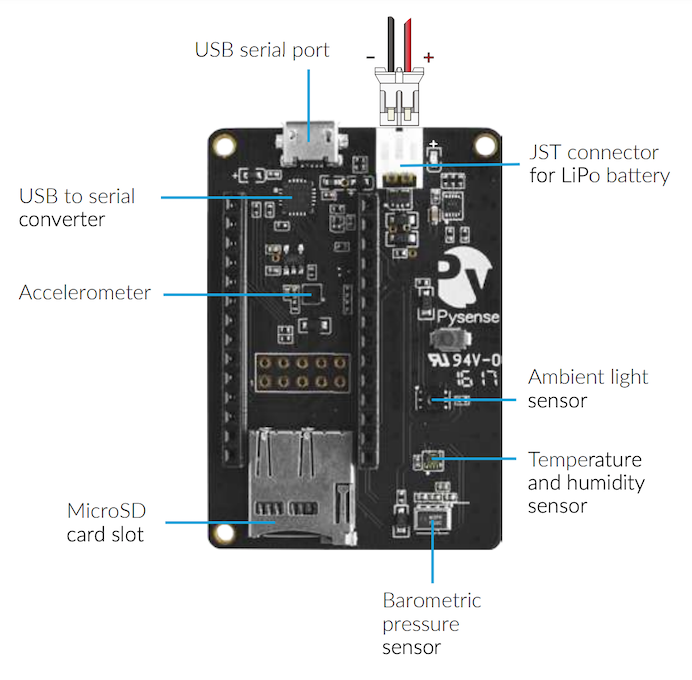
The PySense is a sensor shield with five different sensors on four chips.
- 3 axis 12-bit accelerometer (LIS2HH12)
- Ambient light sensor (LTR329ALS01)
- Barometric pressure sensor (MPL3115A2)
- Temperature / Humidity Sensor (SI7006A20)
FiPy
The FiPy is a development board with five network capabilities.
- WiFi
- BlueToothLE (Low Energy)
- Cellular LTE CAT M1/ NB1
- LoRa
- SigFox
We will be using the LoRa capability to transmit our temperature readings. Always attach the appropriate antenna when using LoRa/SigFox/LTE, failing to do so risks burning the unit.

Assembly
- Attach the antenna cable to the FiPy (see diagram for correct location)
- Attach the FiPy to the PySense. Orient the RGB LED / reset button over the USB connector on any expansion board
- Screw the antenna on to the antenna cable
- Run a micro usb data cable from your computer into the PySense micro usb port. (Be sure that you are using a data cable and not simply a charging cable.)
Updating the firmware
Before continuing it is important to ensure that the firmware is up to date. This can be done with the PyCom Firmware Updater docs.pycom.io/updatefirmware/device/ or via PyBytes (see below).
If this is the first time the PySense is being used out of the box the firmware will need to be updated manually, which is a more complicated procedure. Here you will find the PyCom explanation of the procedure, https://docs.pycom.io/updatefirmware/expansionboard/.
Core Electronics also have a thorough explanation and video walk through https://core-electronics.com.au/tutorials/pycom-pysense-pytrack-firmware-update.html.
Note: In the following example, the NVRAM method was ineffective under the most up to date firmware version. To make it operational required rolling back two versions of the firmware, this can be done easily using the firmware updater (linked above). Future updates should resolve this problem but it is important to bear this in mind if you find yourself having trouble with code which should be working.
PyMakr Plugin
![]()
PyMakr is an IDE plugin for VS Code and Atom. It allows the user to connect to the hardware and upload code to it through a REPL terminal window.
It can be downloaded here
PyBytes
![]()
Pybytes is the PyCom device management platform for managing all your PyCom devices. With it you can visualise sensor data, customise dashboards, distribute firmware updates and track the location of your devices.
PyBytes also allows editing the code on your device through PyMakr in a browser.
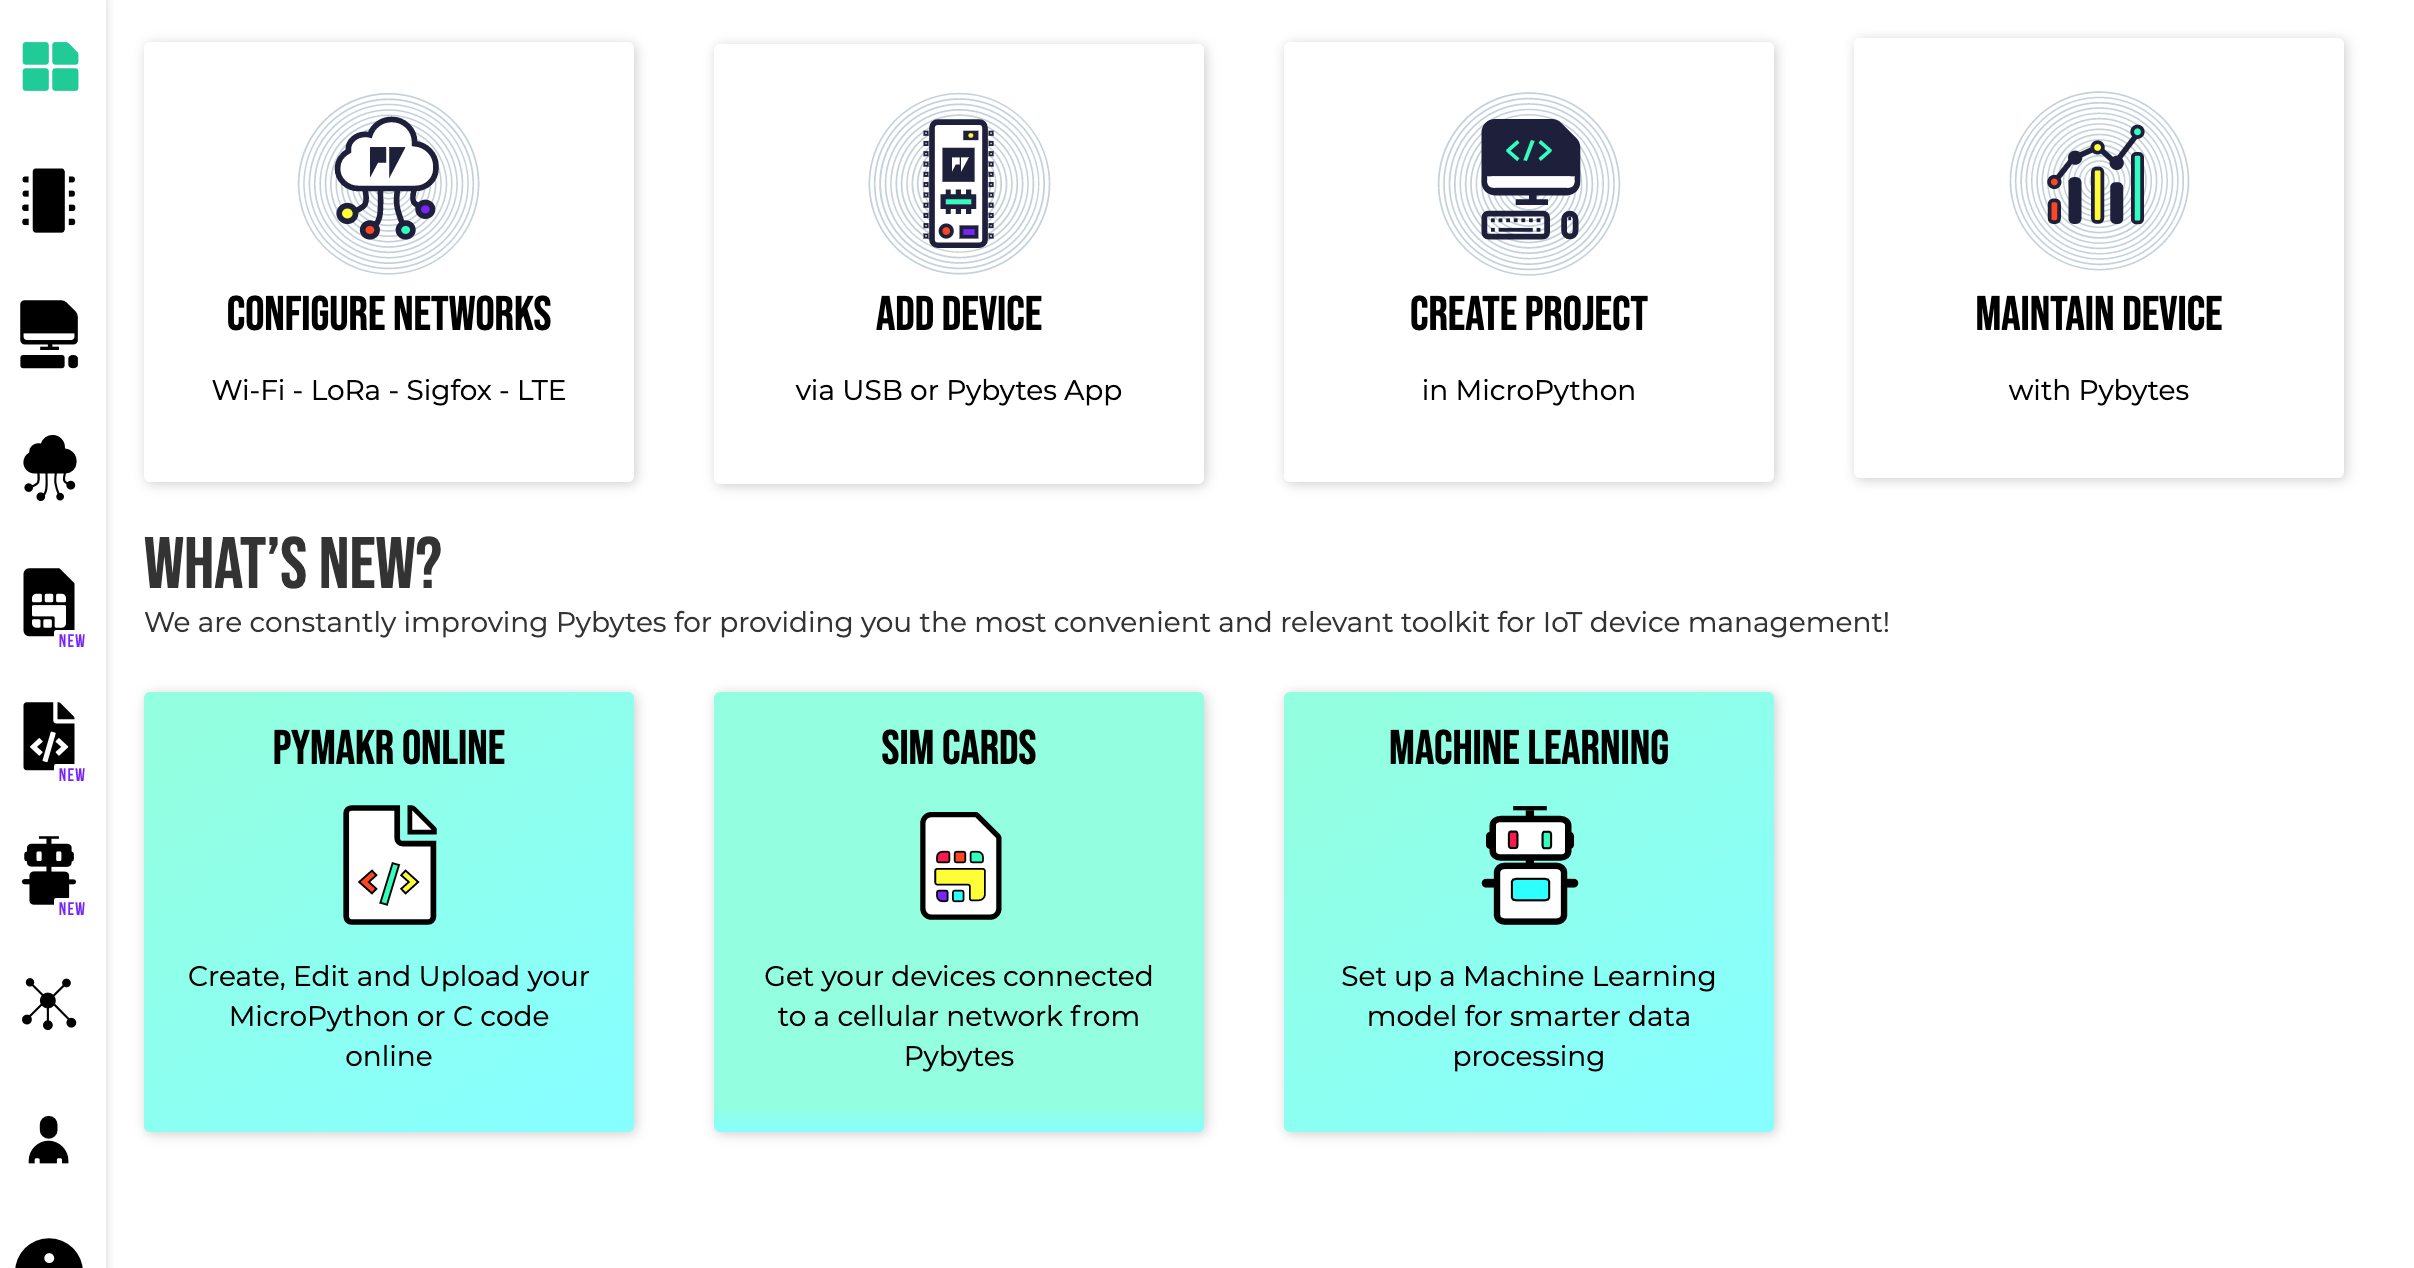
While we will not be using PyBytes in this example it is worthwhile provisioning your device to PyBytes and familiarising yourself with the capabilities.
Creating a project and Uploading it to the PySense
- Create a project folder on your computer and open it in VS Code/ Atom.
- In the IDE create a folder called 'lib'.
- Download PySense libraries from PyCom libraries to the lib folder on your computer.
- Upload the project as it is to your PySense device using the upload button in the IDE.
- From the open project folder ini your IDE
- Create boot.py file
- Create main.py file
The boot file is where any required configuration of the device can be carried out at boot. The main file is where the main program for the device to be written.
Code Examples
These examples can be tested in the PyMakr plugin REPL, and can give a good idea of the capabilites of the PyCom unit.
Turn off heartbeat
When powered on, an LED on the PyCom device will pulse blue, this is the pycom heartbeat. Turning the heartbeat on or off can be achieved by entering the following command with a True or False value.
1 2 3 | |
Get temperature
This example takes a temperature reading using the SI7006A20 chip and requires the libraries indicated above to have been downloaded to the lib folder and uploaded to the device.
1 2 3 4 5 6 7 8 9 | |
Create a packet
This example takes a temperature reading as before, and using 'struct' (C++ formatting) creates a bytes packet.
1 2 3 4 5 6 7 8 9 10 11 12 13 | |
Open LoRa socket and send a packet
This example can really only be tested once the device has been deployed to a LoRa network.
1 2 3 4 5 6 7 8 9 10 11 12 13 14 15 16 17 18 19 20 21 22 23 24 25 26 27 28 29 30 31 32 33 34 35 36 37 38 39 40 41 42 43 44 | |
Working code using ABP method
This code example uses the ABP activation method to join a LoRa network, it uses LoRa NVRAM save and restore method to maintain the active session, allowing the device to go into a deep sleep.
1 2 3 4 5 6 7 8 9 10 11 12 13 14 15 16 17 18 19 20 21 22 23 24 25 26 27 28 29 30 31 32 33 34 35 36 37 38 39 40 41 42 43 44 45 46 47 48 49 50 51 52 53 54 55 56 57 58 59 60 61 62 63 64 65 66 67 68 69 70 71 72 73 74 75 76 77 78 79 80 81 82 83 84 85 | |
Deploy node on TTN
Decode Uplink
Once the device has been deployed to a LoRa network (in this case TTN) the uplink data needs to be decoded into a human readable format, the javascript code below does just this and can be pasted into the TTN application for the device.
JavaScript
1 2 3 4 5 6 7 8 9 10 11 12 13 14 15 16 17 18 19 20 | |