MQTT on Arduino
Now the task is to get the Arduino talking to the MQTT broker on the Pi.
There are two stages to this - the first is to instruct the ESP8266 to
connect to the Pi's WiFi network, and the second is to exchange MQTT
messages.
Connecting to the Pi
For this part we just need to use the ESP's built-in AT commands. Later,
we will embed the commands in a sketch, but as a first test we can just
use the serial monitor. Figure 4 illustrates the use of the commands to
list WiFi access points, and to connect to the one with the SSID RPi1. For
more information, please refer to the ESP8266 AT instruction set guide
which was linked on the ESP setup page.

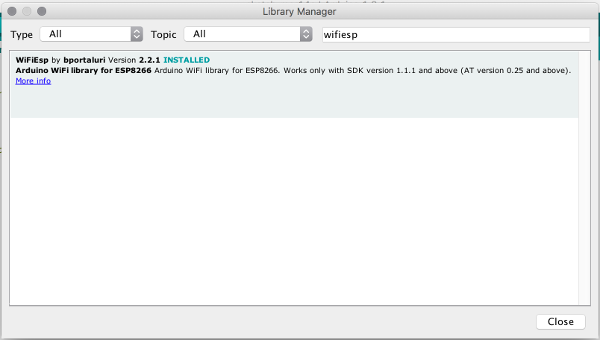
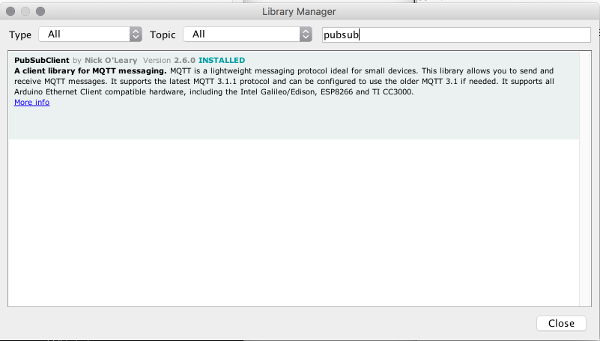
Talking MQTT
We will be making use of two different libraries to help simplify the job
of exchanging MQTT messages with the broker. Both of them can be installed
using the Include Library → Manage Libraries from the
menu.
The first one is WiFiEsp by bportaluri, and the second is
PubSubClient by Nick O'Leary:
Start a new sketch, install the libraries, and then load the example code
provided below. You can alter the variable values at the beginning of the
sketch to match the details of your Pi.
The code is quite long compared to other examples we have seen. This is
mainly to accommodate some of the uncertainty around network connections -
for example, there are several sections concerned with retrying and
reconnecting. The comments in the code and the notes below the listing
provide some further information.
  1
  2
  3
  4
  5
  6
  7
  8
  9
 10
 11
 12
 13
 14
 15
 16
 17
 18
 19
 20
 21
 22
 23
 24
 25
 26
 27
 28
 29
 30
 31
 32
 33
 34
 35
 36
 37
 38
 39
 40
 41
 42
 43
 44
 45
 46
 47
 48
 49
 50
 51
 52
 53
 54
 55
 56
 57
 58
 59
 60
 61
 62
 63
 64
 65
 66
 67
 68
 69
 70
 71
 72
 73
 74
 75
 76
 77
 78
 79
 80
 81
 82
 83
 84
 85
 86
 87
 88
 89
 90
 91
 92
 93
 94
 95
 96
 97
 98
 99
100
101
102
103
104
105
106
107
108
109
110
111
112
113
114
115
116
117
118
119
120
121
122
123
124
125
126
127
128
129
130
131
132
133
134
135
136
137
138
139
140
141
142
143
144
145
146
147
148
149
150
151
152
153
154
155
156
157
158
159
160
161
162
163
164
165
166
167
168
169
170
171
172
173
174
175
176
177
178
179
180
181
182
183
184
185
186
187
188
189
190 | * Adapted from the following examples:
* WiFiEsp: https://github.com/bportaluri/WiFiEsp/tree/master/examples/WebClient
* PubSubClient: https://github.com/knolleary/pubsubclient/tree/master/examples/mqtt_basic
*/
#include <PubSubClient.h>
#include "WiFiEsp.h"
#include <SoftwareSerial.h>
SoftwareSerial espSerial(10, 11); // RX, TX
long int baudRate = 9600;
char ssid[] = "RPi1"; // your network SSID (name)
char pass[] = "Raspberry"; // your network password
int status = WL_IDLE_STATUS; // the Wifi radio's status
char server[] = "192.168.1.1"; // IP address of the MQTT server
char topic[] = "Test"; // Default topic string
char clientId[] = "client1"; // Cliwent id: Must be unique on the broker
WiFiEspClient wifi; // Initialize the Ethernet client object
PubSubClient mqttClient(wifi); // Initialize the MQTT client
void setup() {
Serial.begin(9600);
// Set baud rate of ESP8266 to 9600 regardless of original setting
set_esp8266_baud_rate(baudRate);
espSerial.begin(baudRate);
espSerial.print("AT+UART_CUR=");
espSerial.print(baudRate);
espSerial.print(",8,1,0,0\r\n");
WiFi.init(&espSerial);
// check for the presence of the shield
if (WiFi.status() == WL_NO_SHIELD) {
Serial.println("WiFi shield not present");
// don't continue
while (true);
}
// attempt to connect to WiFi network
while ( status != WL_CONNECTED) {
Serial.print("Attempting to connect to WPA SSID: ");
Serial.println(ssid);
// Connect to WPA/WPA2 network
status = WiFi.begin(ssid, pass);
}
// you're connected now, so print out the data
Serial.println("You're connected to the network");
printWifiStatus();
mqttClient.setServer(server, 1883);
mqttClient.setCallback(onReceive);
}
void loop() {
char message[256];
int i;
for (i=0; i<256; i++) {
message[i] = 0;
}
if (Serial.available()) {
Serial.readBytesUntil("\r",message, 255);
mqttClient.publish(topic,message);
}
if (!mqttClient.connected()) {
reconnect();
}
mqttClient.loop();
}
void printWifiStatus()
{
// print the SSID of the network you're attached to
Serial.print("SSID: ");
Serial.println(WiFi.SSID());
// print your WiFi shield's IP address
IPAddress ip = WiFi.localIP();
Serial.print("IP Address: ");
Serial.println(ip);
// print the received signal strength
long rssi = WiFi.RSSI();
Serial.print("Signal strength (RSSI):");
Serial.print(rssi);
Serial.println(" dBm");
}
void onReceive(char* topic, byte* payload, unsigned int length) {
Serial.print("Message arrived [");
Serial.print(topic);
Serial.print("] ");
for (int i=0;i<length;i++) {
Serial.print((char)payload[i]);
}
Serial.println();
}
void reconnect() {
// Loop until we're reconnected
while (!mqttClient.connected()) {
Serial.print("Attempting MQTT connection...");
// Attempt to connect
if (mqttClient.connect(clientId)) {
Serial.println("connected");
// Once connected, publish an announcement...
mqttClient.publish(topic,"hello world");
// ... and resubscribe
mqttClient.subscribe(topic);
} else {
Serial.print("failed, rc=");
Serial.print(mqttClient.state());
Serial.println(" try again in 5 seconds");
// Wait 5 seconds before retrying
delay(5000);
}
}
}
void set_esp8266_baud_rate(long int baud_rate){
long int baud_rate_array[] = {1200,2400,4800,9600,19200,38400,57600,74880,115200,230400};
int i, j, pause=10;
String response;
Serial.println("Setting ESP8266 baud rate...");
for (j=0; j<5; j++){
for (int i=0; i<10; i++){
espSerial.begin(baud_rate_array[i]);
espSerial.print("AT\r\n");
delay(pause);
if (espSerial.available()) {
response=espSerial.readString();
response.trim();
if (response.endsWith("OK")) {
espSerial.print("AT+UART_CUR=");
espSerial.print(baud_rate);
espSerial.println(",8,1,0,0");
delay(pause);
if (espSerial.available()) {
response=espSerial.readString();
}
espSerial.begin(baudRate);
delay(pause);
espSerial.println("AT");
delay(pause);
if (espSerial.available()) {
response=espSerial.readString();
response.trim();
if (response.endsWith("OK"))
break;
else {
Serial.println("Trying again...");
}
}
else {
Serial.println("Trying again...");
}
}
}
}
if (response.endsWith("OK"))
break;
}
espSerial.begin(baudRate);
delay(pause);
espSerial.println("AT");
delay(pause);
if (espSerial.available()) {
response=espSerial.readString();
response.trim();
if (response.endsWith("OK")) {
Serial.print("\r\nBaud rate is now ");
Serial.println(baudRate);
}
else {
Serial.println("Sorry - could not set baud rate");
Serial.println("Try powering off and on again");
Serial.println("Don't try to use 115200");
}
}
}
|
| Line |
Comment |
| 26-32 |
One of the difficulties with the ESP8266 is knowing what speed to use before a connection has been made. The functionset_esp8266_baud_rate(baudRate) tries all the common speeds until it finds the one that works. |
| 35-53 |
These are inherited directly from the WiFiEsp example |
| 55-56 |
These configure the MQTT client with the values set at the top of the sketch. onReceive is a callback function which is invoked when a message arrives. |
| 59-78 |
In the main loop, any text entered into the serial monitor is read and published as an MQTT message. The default topic is defined at line 18. |
| 80-96 |
Inherited from the WiFiEsp example |
| 98-106 |
Adapted from the PubSubClient example. The function echoes any received messages to the serial monitor |
| 108-127 |
Inherited from the PubSubClient example |
| 134-190 |
Function to set the serial communications with the ESP8266 to a known value (9600 baud) as seen on the previous page (see below). |
The central loop which starts at line 136 tries each of the speeds in the list.
When a response of OK is received, we have identified the current baud rate.
The outer loop which starts at line 135 tries up to five times before giving up.
The communications rate of the ESP defaults to 115200 baud on power-up.
This speed tends to be unreliable and needs to be reduced. Another
interesting thing to note about the sketch is that there are several
calls to delay(pause) where the value
of pause is 50ms. This is to allow the ESP hardware to react to the
command it has just been given. Without the delay, the next
operation could start before the first completes leading to
unpredictable results.
Links
 WiFiEsp reference
PubSubClient reference