MQ gas sensor
Where a project needs to detect the presence of gases in the air, the MQ family offers a cost-effective solution. The sensors all have a common interface and so the description below is representative of the whole series.
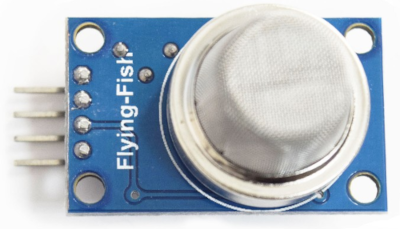
Figure 1: MQ gas sensor module
The name of the sensor indicates the type of gas that it can detect. The table below lists the most common models and you can click the sensor name for further information. Please note that this list is not exclusive - use the links at the bottom of the page for further details about models that target other gases.
| Sensor | Gas(es) |
|---|---|
| MQ-2 | Flammable gases including LPG and propane |
| MQ-3 | Ethanol |
| MQ-4 | Methane and natural gas |
| MQ-6 | Methane and LPG |
| MQ-7 | Carbon monoxide and hydrogen |
| MQ-8 | Hydrogen |
| MQ-9 | Carbon monoxide and flammable gases |
| MQ-131 | Ozone |
| MQ-135 | Ammonia, benzene, ethyl alcohol, carbon dioxide |
| MQ-136 | Hydrogen sulphide |
Operation
The sensors use an electrochemical probe to detect the target gases. Different chemical treatments are used for the different target gases, A common feature is that the chemical process requires a specific temperature and the sensors are therefore equipped with a heating element. For this reason, each one needs a power supply with a specific voltage. You should check the datasheet to find out the requirements of the sensor you are using. Another consequence of using a heating element is that when first powered, the readings may be inaccurate until the sensor has reached its target temperature.
Most MQ sensors require 5V, which is no problem if your microprocessor works at 5V (like and Arduino or Raspberry Pi); however, if your board can only provide 3.3V (like a Particle Photon2), you will need to introduce a second power supply. This is illustrated in Fig. 2.
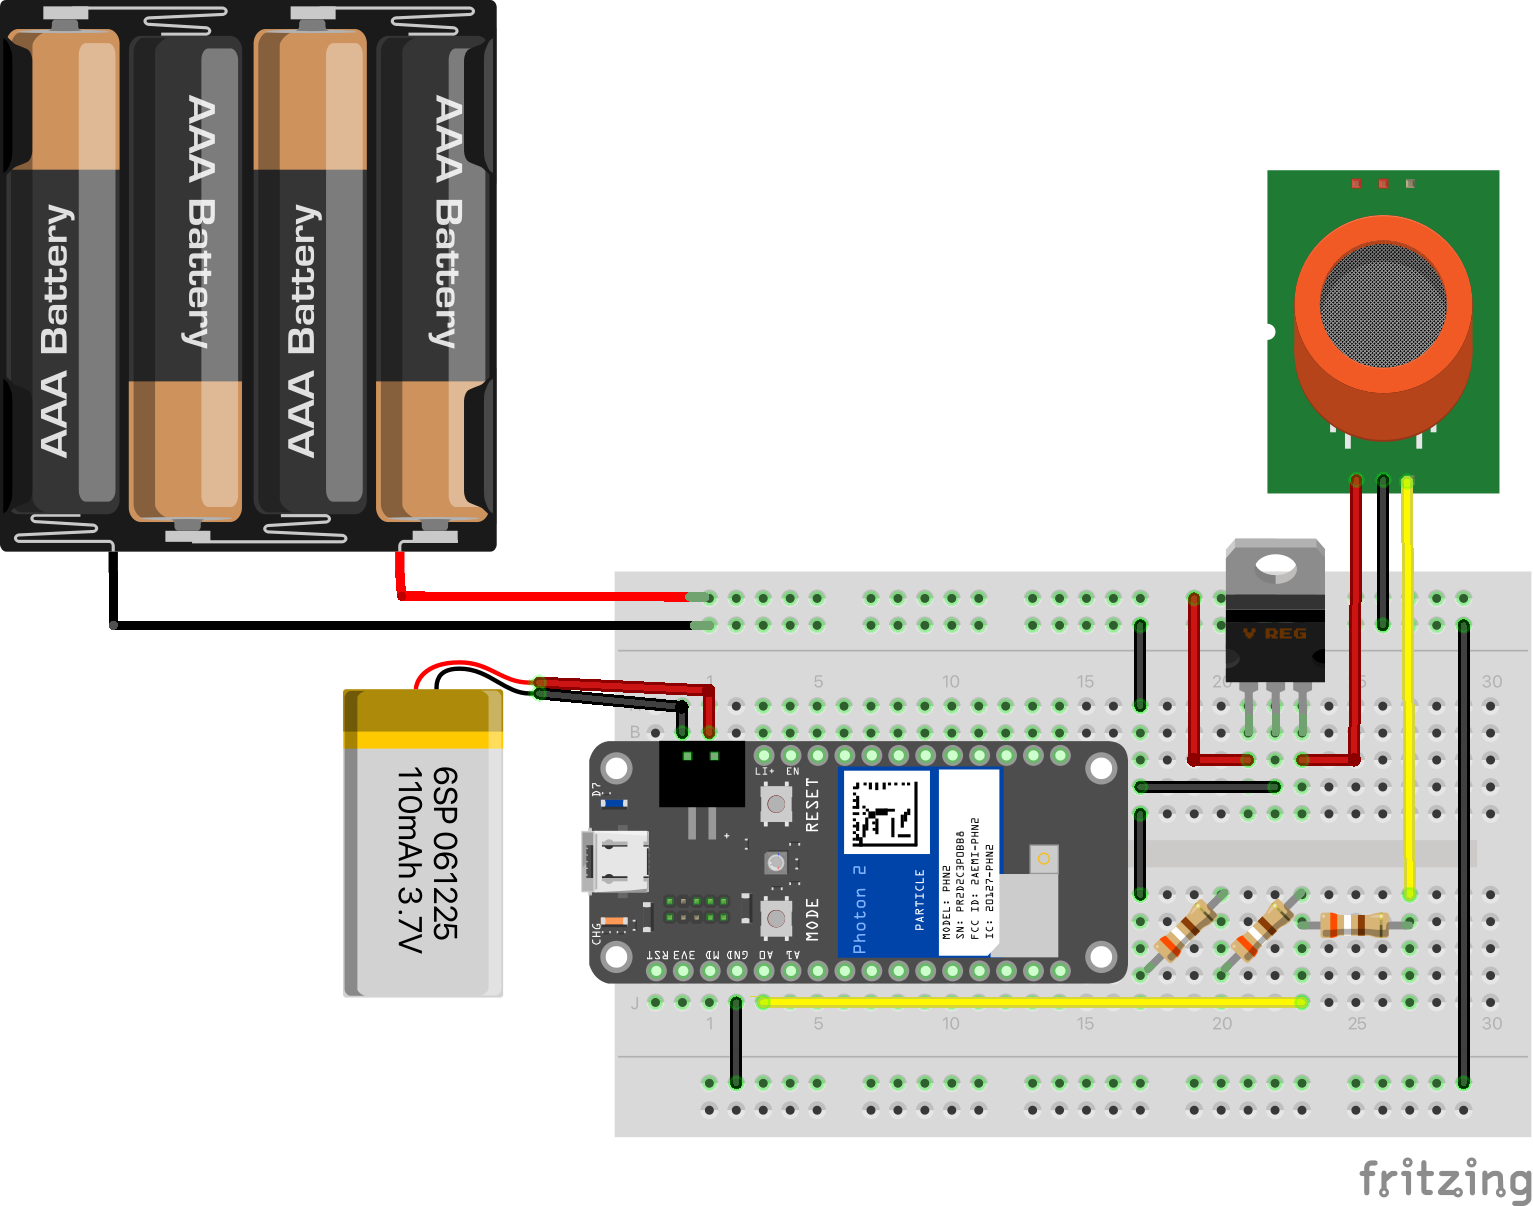
Figure 2: 5V gas sensor and 3.3V microprocessor
Notes
The gas sensor shown has only three pins. That is a limitation of the available graphics You should use either the digitla or analogue signal output depending on your application (see below).
The figure shows a 5V voltage regulator being used to constrain the 6V from the battery pack to the 5V required by the sensor.
The figure also illustrates the use of a voltage divider to step the output signal from the sensor down from 5V to 3.3V to protect the microprocessor.
As a workaround, the Particle Photon2 has a VUSB pin which takes power directly from the USB connection which runs at 5V. As long as your device is connected to a power source via USB, this pin can be used to power 5V devices. This arrangement is illustrated in Fig. 3.
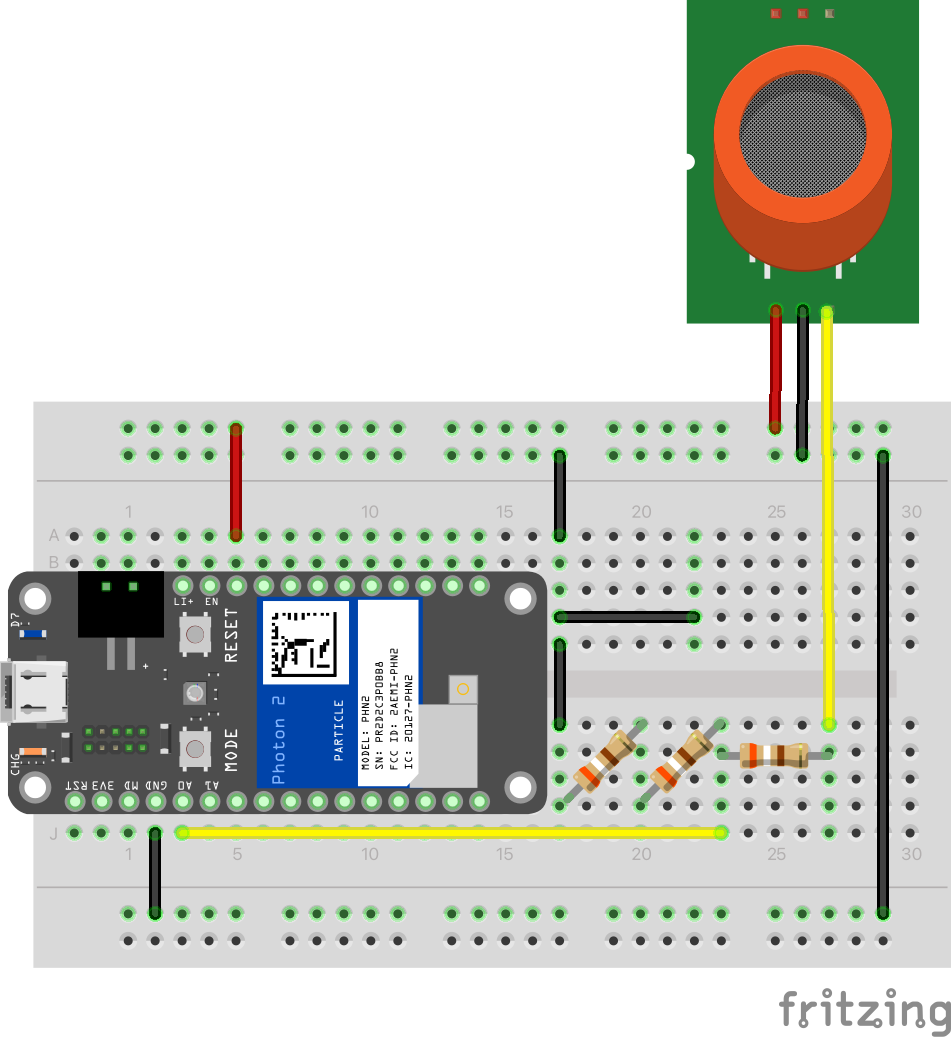
Figure 3: 5V gas sensor and 3.3V microprocessor
Hardware interface
Fig. 1 shows the sensor packaged as a module. The sensor itself typically has six pins, and that is how it will be shown on the datasheet. The module reduces this to four pins which simplifies its use in a breadboard layout. The pin assignments are described in the table below.
| Pin label | Explanation |
|---|---|
| VCC | Power input - see datasheet for the required voltage |
| GND | Ground |
| DO | Digital output |
| AO | Analogue output |
The DO pin can be used to provide a binary output - high when the gas is detected and low otherwise. The sensitivity can be changed by adjusting the on-board potentiometer labelled (1) in Fig. 4.
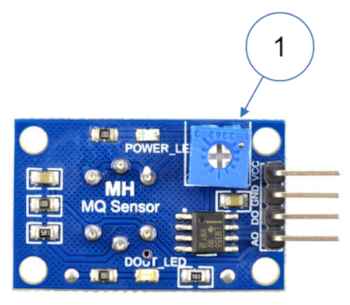
Figure 4: MQ sensor potentiometer
The AO pin will give an analogue output where the voltage ranges between 0 and the input voltage, and is proportional to the concentration of the target gases.
Software
If you are using the MQ-135, the best approach is to use the library and example code that is available in the Particle IDE. If you are using the MQ-7, you can use the code below.
1 2 3 4 5 6 7 8 9 10 11 12 13 14 15 16 17 18 19 20 21 22 23 24 25 26 27 28 29 30 31 32 33 34 35 36 | |
 Introduction to gas sensors