Servo motors
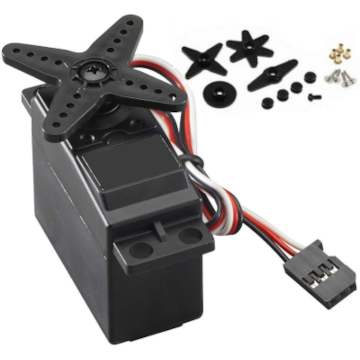 Figure 1: Standard servo
A standard servo rotates over 180 and is useful for controlling actuators such as valves or automatic door openers. Please see the notes for more information.
Firstly, the Particle development environment simplifies things a little in comparison to Arduino because the servo object is built-in. With an Arduino you need to explicitly include a servo library.
On the hardware side though, a standard servo requires 5V to operate and the Photon2
is a 3.3V device. If your Photon2 is connected to a computer or a power outlet
via USB, then you can take 5V from the VBUS pin to power the servo. A more
flexible design is to use an external power supply such as a battery pack. When using
and external power supply there are two rules:
- NEVER connect the external power to the Photon2 - the higher voltage may cause damage.
- ALWAYS connect the ground (negative) from both power sources together. This provides a common reference level for both the 3.3V and 5V parts of the system.
Another complication is that controlling a servo requires pulse-width modulation (PWM) which is only available on some of the Photon2's digital pins. Figure 2 shows you how to connect up your servo using an exteral power source.

Figure 2: Breadboard layout using external power source
Next, go to the Particle Web IDE and paste the code below into the editor.
Give your file a name and save it using the folder icon in the navigation panel.
1 2 3 4 5 6 7 8 9 10 11 12 13 14 15 16 17 18 19 20 21 22 23 24 25 26 27 28 29 30 | |
You can see the messages displayed on the serial port by starting the serial monitor with the command
1 | |