Building GUI widgets in Processing
Although Processing provides many ways for the user to interact with an app, sometimes the best option is a standard set of UI widgets such as buttons, text fields, drop-down lists, etc.
Starting from the Mouse Functions example on the Processing site (accessible via the link in the resources box), the goal is to create an application with three graphical buttons. Each one is related to a different colour. Clicking a button changes the background colour of the app to the one indicated by the button. Eventually, you should have something that looks like Figure 1.
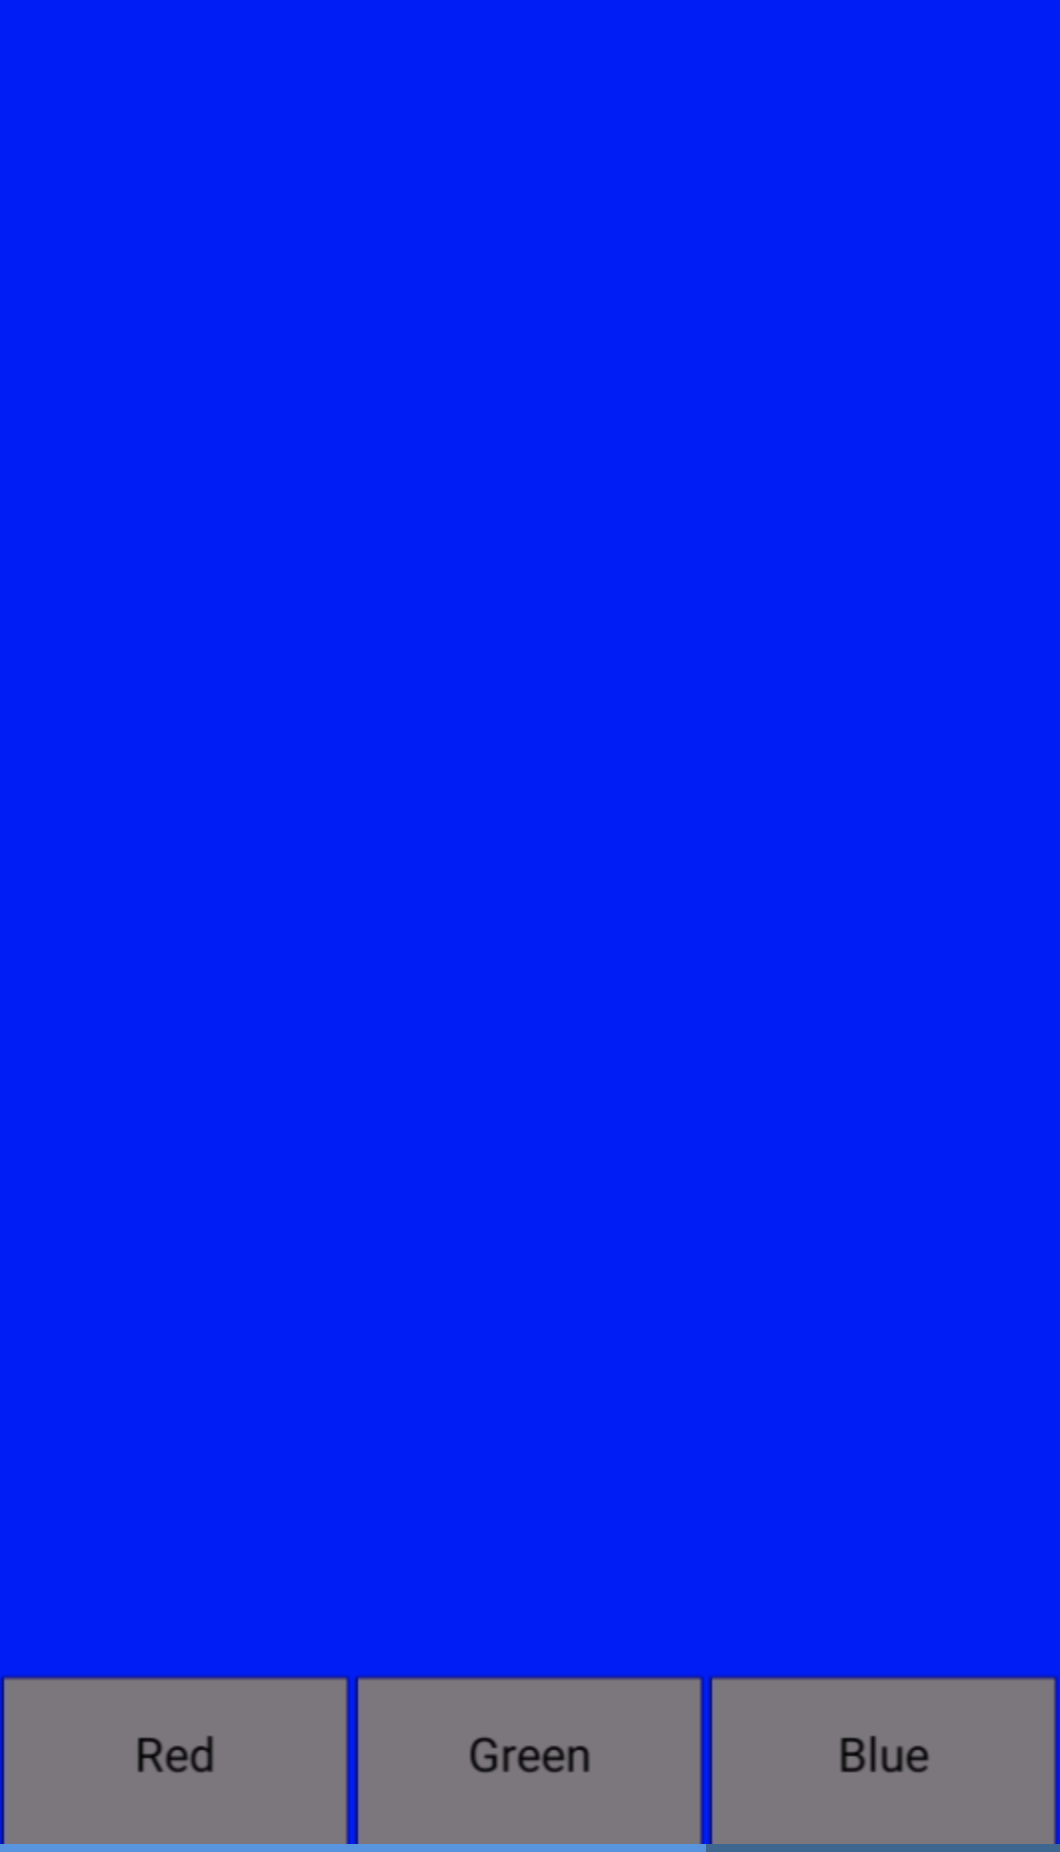 Figure 1. Screenshot of target application
You may find it useful to go through a series of steps to arrive at a good implementation:
-
Use the Mouse Functions example to see how to
-
Capture mouse events
-
Maintain state information in global variables
-
Modify the rectangle in the original example to be an appropriate size for a button
-
Use the
text()function to overlay the button shape with a label - make sure that you parameterise the size and position of the button shape and use the same values to position the label correctly -
Capture click events on the buttons to set the background colour
If you make it through to the end of the list above, the final challenge is to create a Button class which encapsulates most of the common behaviour so that it can be easily re-used.
 Mouse functions